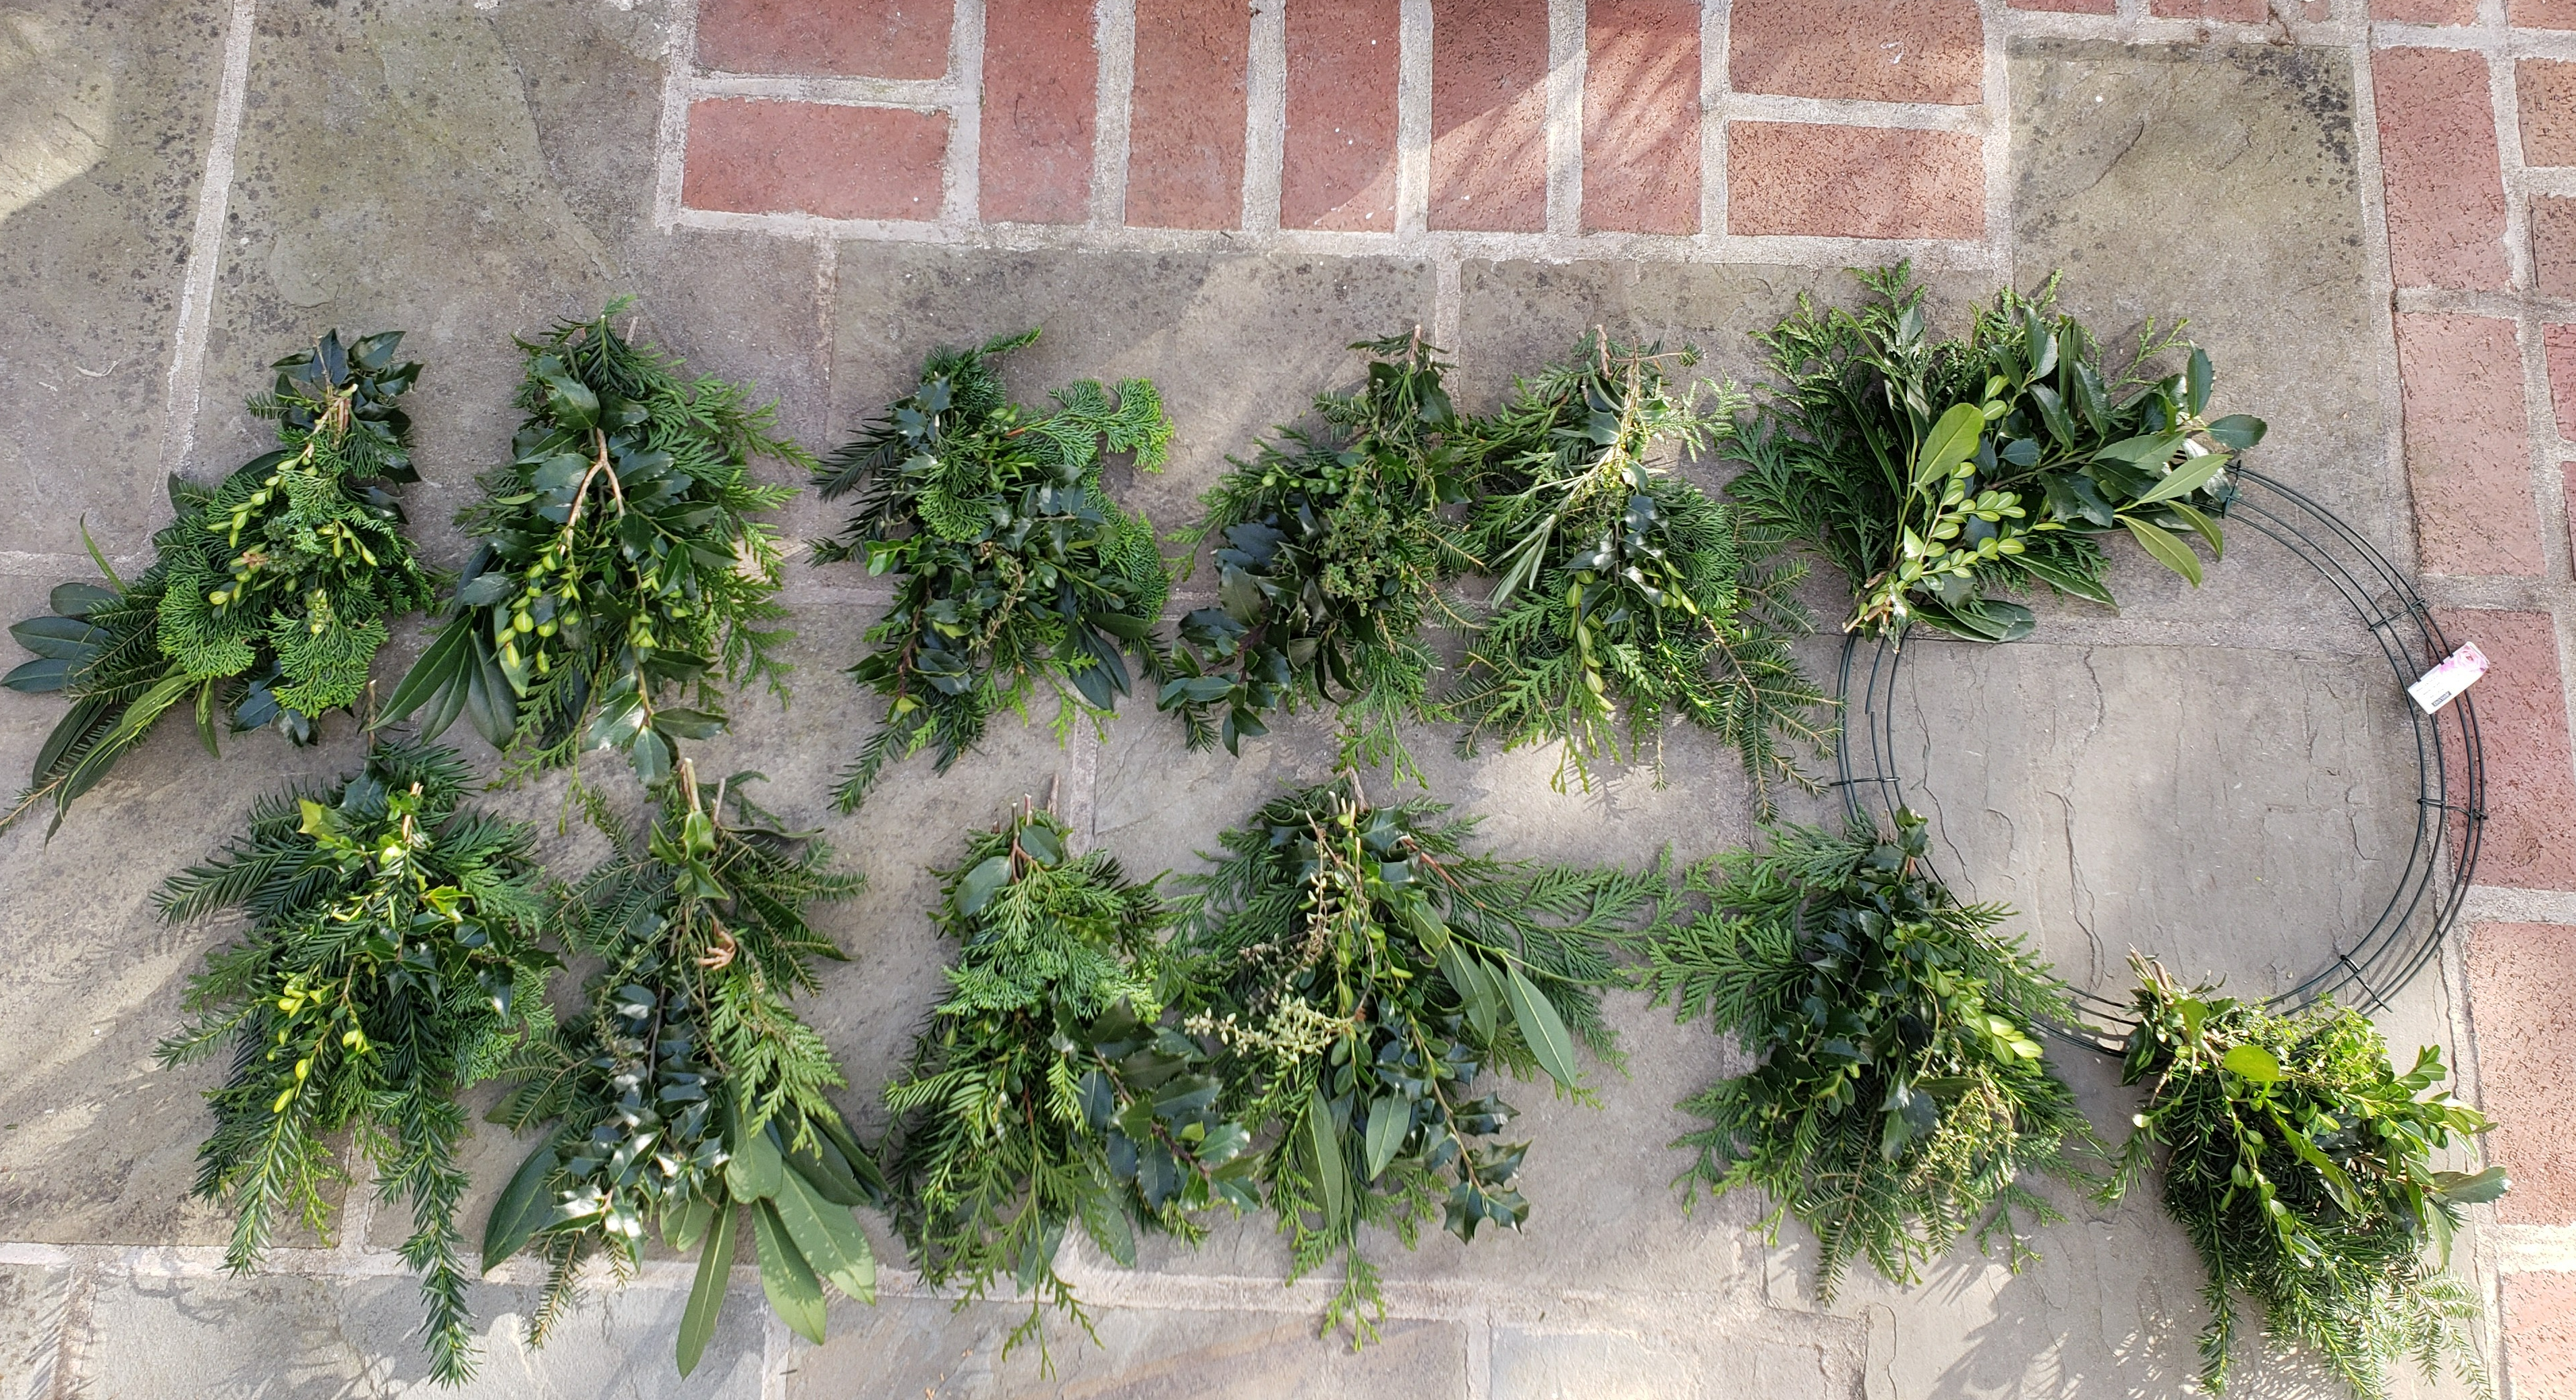
I made my own wreath this year from the shrubs and trees in our yard. The only additional supplies I used included: green floral wire, 18 inch metal frame, clippers and ribbon. The wreath took me less than two hours to make. I gathered about 10 to 20 stems from different varieties of shrubs and trees in our yard. The varieties are shown in photo below (clockwise): Arborvite, Holly, Laurel, Boxwood, Leland Cyprus, Thyme, Yew and Pieris (not in picture). I gathered about 5 to 6 stems into a bunch with the lighter foliage like boxwood, cyprus, thyme and pieris at top layer. I wrapped each bunch together with green floral wire at the stem.
Evergreens found in our yard.
I made 12 bunches (see photo below).
greenery bunches and wire frame
I secured each bunch onto the metal frame by wrapping the floral wire around stem of bunch and frame twice. I layered the full end of bunch over the previous stem until the metal frame was covered. I am happy with the result.
A free wreath from our yard. Next, I plan to make a smaller wreath for indoors with 12 inch metal frame. I plan to add pinecones and berries.
Several years ago, my mom and aunt started a small business called Joyanne Wreaths to sell their homemade pine cone wreaths. This year, they finally showed me their secrets to making these gorgeous long lasting wreaths. I made my first pine cone wreath this year. Here is an early Christmas present from Our Garden Plot to you –
Mom’s Pine Cone Wreath Making Lesson
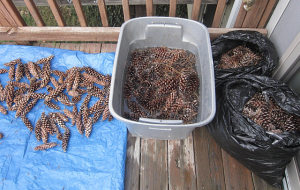
First, gather the pine cones from the ground in your yard, neighborhood and parks. The long thin pine cones work best. Next, wash the pine cones by swishing them around for a few minutes in a large bin of water mixed with a quarter cup of bleach
Drop the washed pine cones on a tarp, shake them a bit then place them on a towel to dry. Let the pine cones dry outside for one to two days. The pine cones close when they are wet. They are ready for wreath making when they start to open.
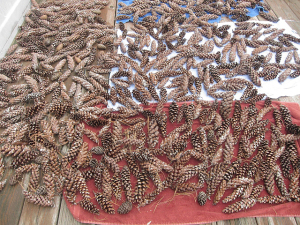
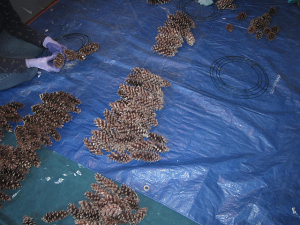
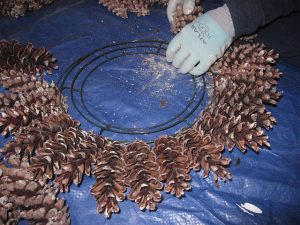
Place a large tarp on your floor work space. Sort the pine cones by size: small, medium and large (wear gloves and old clothes since there is still sticky sap on the pine cones). Pinch off the small stems at the base of the pine cones. The pine cones are ready to go into your 12 or 16 inch metal wreath form.
Insert the pine cones into the metal form by pinching and pushing the base of the pine cone through the outer rim of the form. Four to Five pine cones will fit in each section. Fill the outer rim completely around. You will have one circle of pine cones. Dipping the base of the pine cones in water makes them close and slide easily into the frame. When the pine cones dry, they will open and fit in tight and more secure.
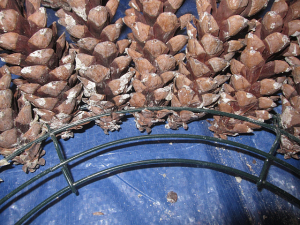
There are five pine cones in this section. You will need 100 to 125 pine cones to make one wreath on a 12 inch frame.
Insert the large pine cones in the outer sections, the medium pine cones in the middle sections and the small pine cones in the inner sections.
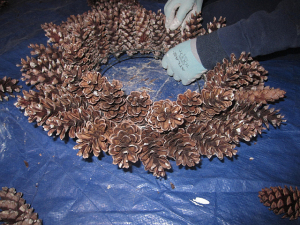
There will be three concentric circles of pine cones. Make a hook with florist wire wrapped with floral tape. Secure the hook to the frame on the back of the wreath.The wreath looks beautiful plain or decorated with natural objects – berries, leaves, small pine cones, or evergreen pieces.
The wreath becomes fuller as the pine cones dry. Enjoy your homemade wreath. It will last a long time!
My mom spent many years perfecting her craft while running her small business, Joyanne Wreaths. She no longer sells her work, but if you found this tutorial helpful would you consider making a donation? Thank your for your consideration.